The base for the majority of the self-hosting projects, at the time of this writing, is ubuntu-24.04.1-live-server-amd64.
Before you even get started, be sure you have read the port forwarding –> article? Make sure you check your router and make note of any port forwarding that is already configured. This would also be a great time to start a network diagram. For simple networks it is relatively easy, keep track of IP:Port needs and assignments.
Select your installation language.
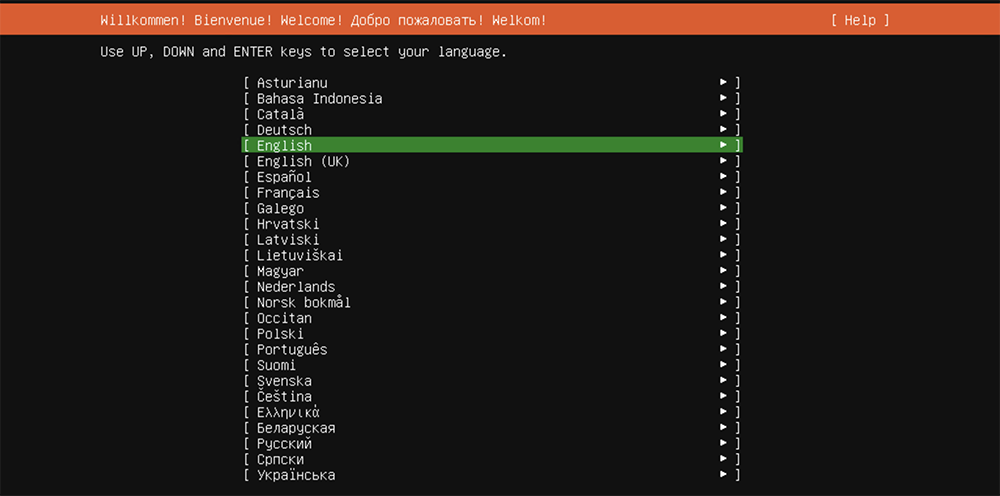
Always update the installer, when asked.
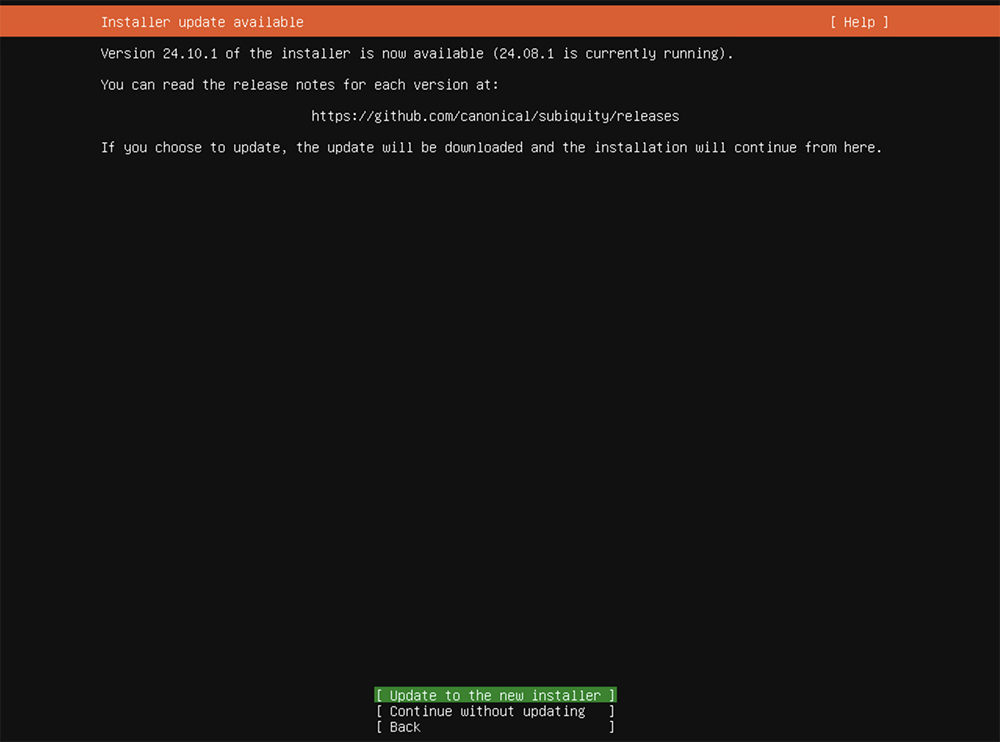
Keyboard configuration
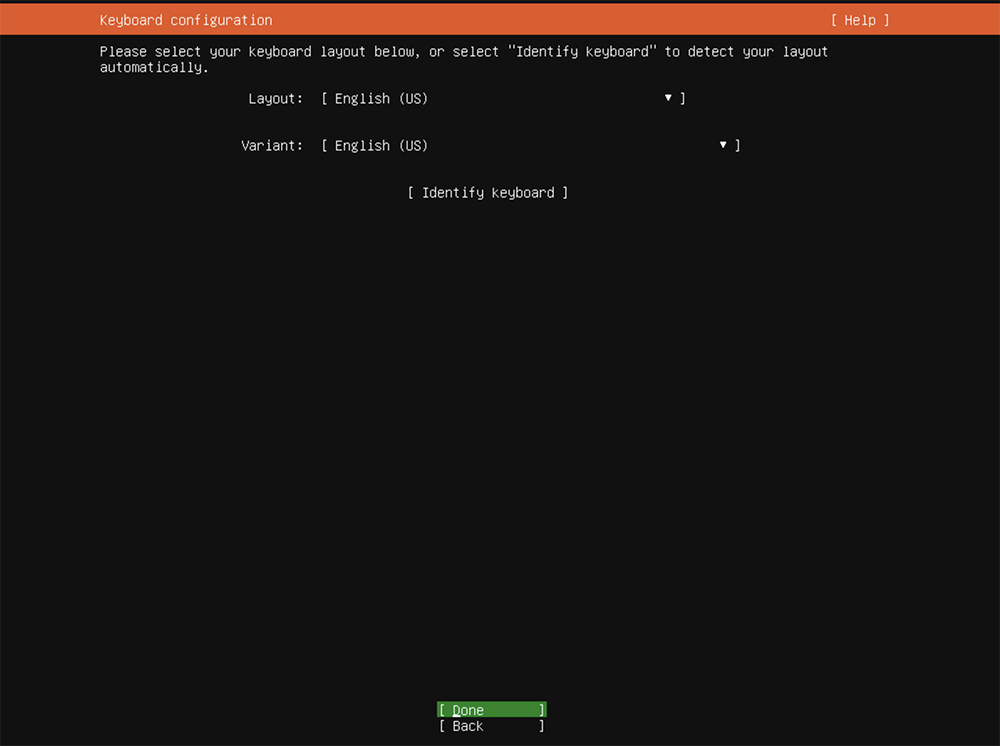
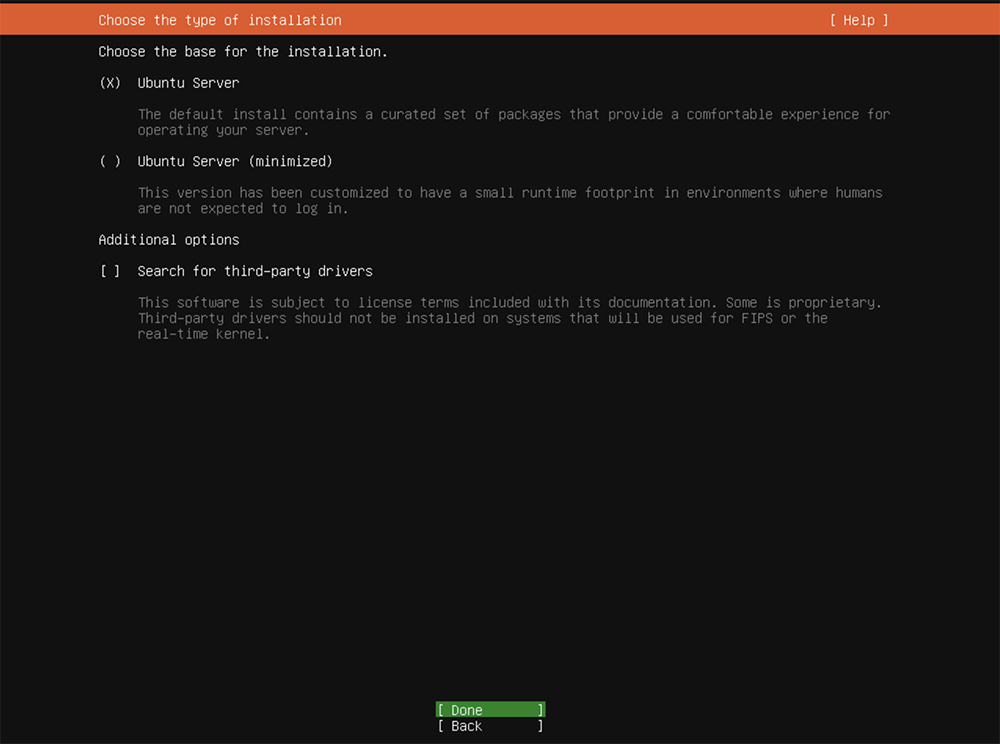
Selecting the type of installation. Default values here are just fine. But, advanced users and users with limited resources may benefit from a minimized installation.
IP Address assignments get a little more attention. DHCP, DHCP static, or Static addresses? I prefer manually setting an IP address for things that I access remotely. This is the default choice for ubuntu.

Moving the cursor up to eth0 and pressing enter will reveal

Choices are Automatic (DHCP), Manual, or Disabled. Disabled prevents configuration of the associated network port. DCHP automatically configures the network interface.
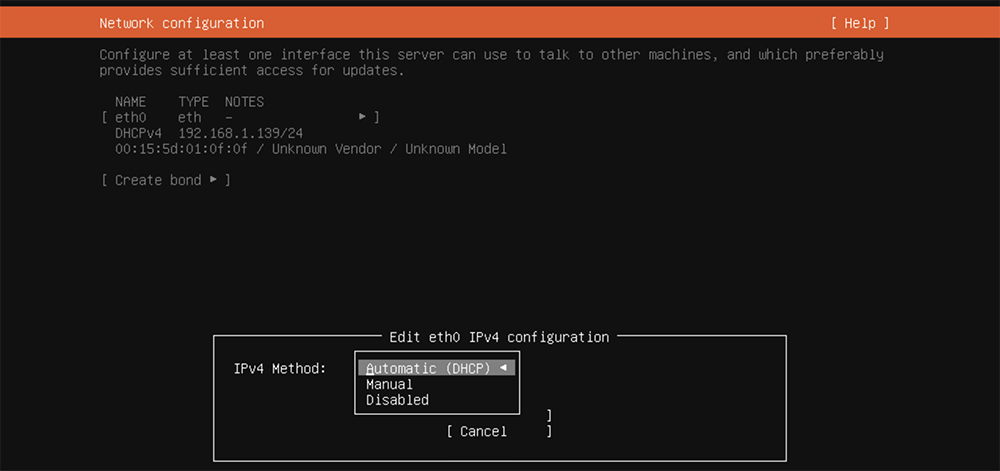
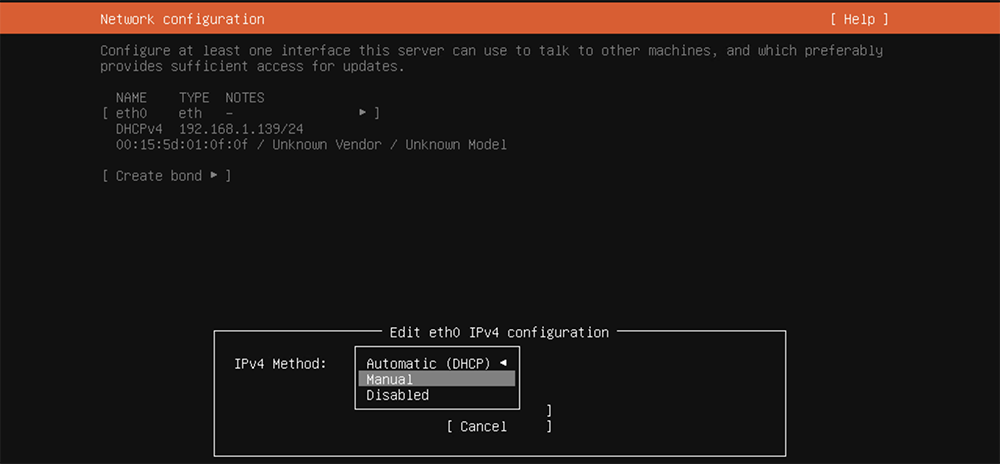
We will be selecting Manual.
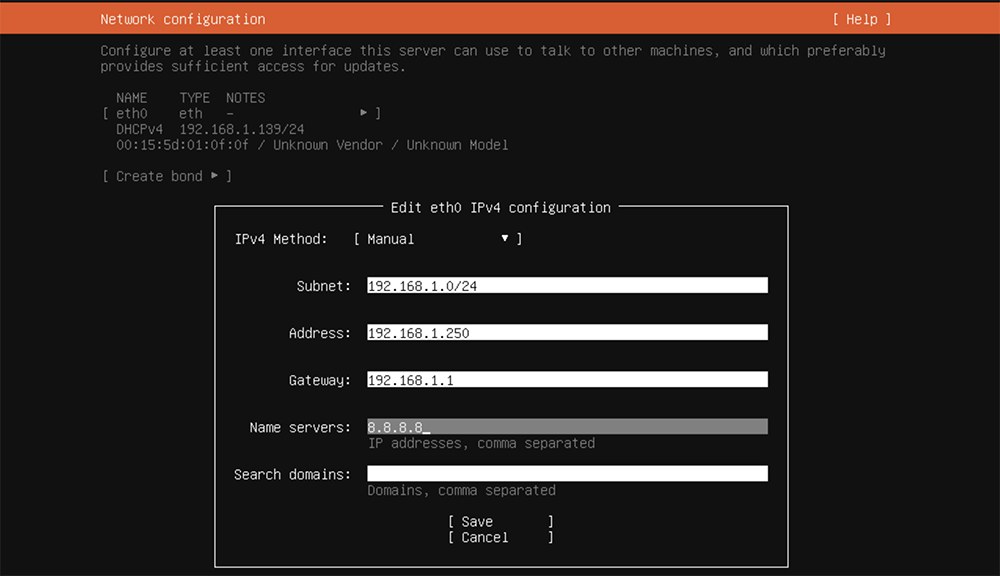
What you enter in the menu below is probably going to be different, depending on your home network. The subnet entry is entered such that this linux server is expecting to be a part of the 192.168.1.1 – 192.168.1.254 network with a netmask of 255.255.255.0 whose router address is 192.168.1.1 with DNS servicing from 8.8.8.8 and lastly the server ip is 192.168.1.250. This should all be noted somewhere. Save and continue when ready.
linux now reports and you may continue.

Proxy, unless you have a value for this you can just continue.

Once mirror location tests are passed you may continue. Let this complete. If you are having network issues they will be first noticed here. If you get errors, double check your network values.

Hard drive configuration, since I have already setup my VM storage I am going to use the entire disk. If you have other ideas, experimentation is where we learn. For me this is five taps on the Tab key and hitting enter.
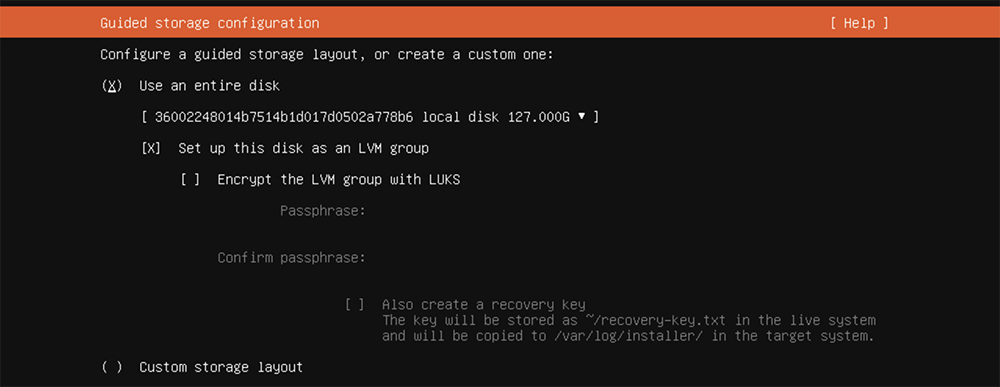
linux has determined the following partitioning, / = 62G is the main partition, /boot & /boot/efi 3G. The boots are just for that booting up the system. The Hyper-V will automatically expand into the free space when needed. This is to save space on the physical storage.
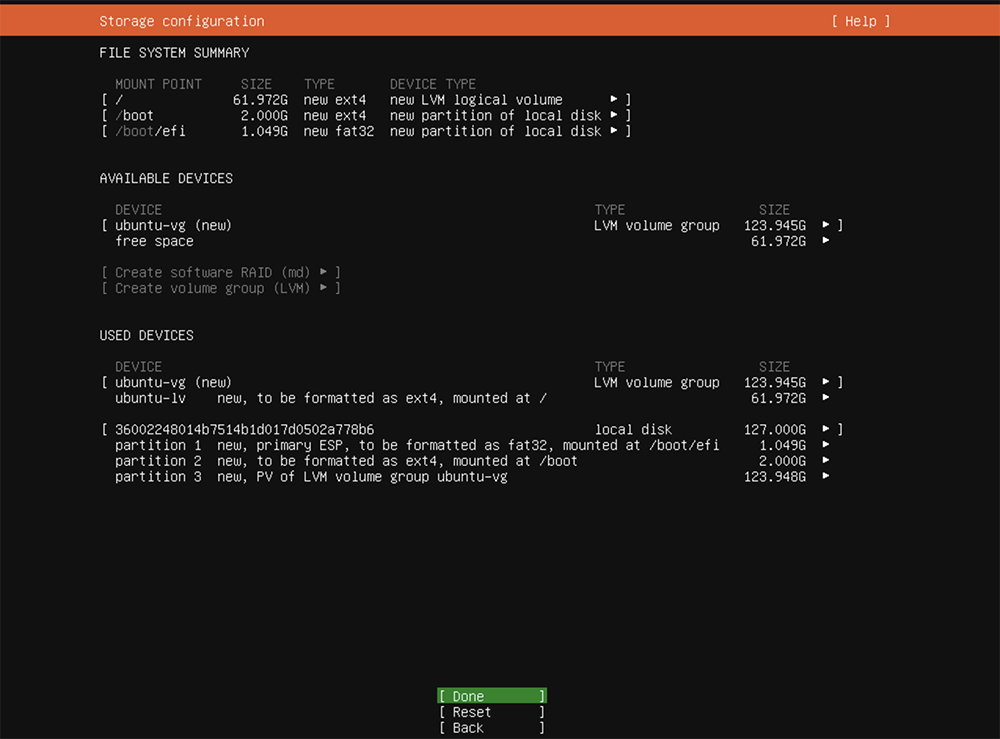
The red Continue button is indicating an irreversible choice is being made that will result in all data on the target drive being erased. Clicky clicky

Fill out the form with your details and proceed

Ubuntu Pro, now or later? I do it after the install. Unless you plan on doing it now, proceed

Install the OpenSSH server. SSH keys? I do my after install. Proceed.

Optional packages that can be installed during the server installation. I prefer to install after the server installation process. It allows me to capture better data by doing the installations manually. I would proceed. This will begin the installation of the linux server OS.
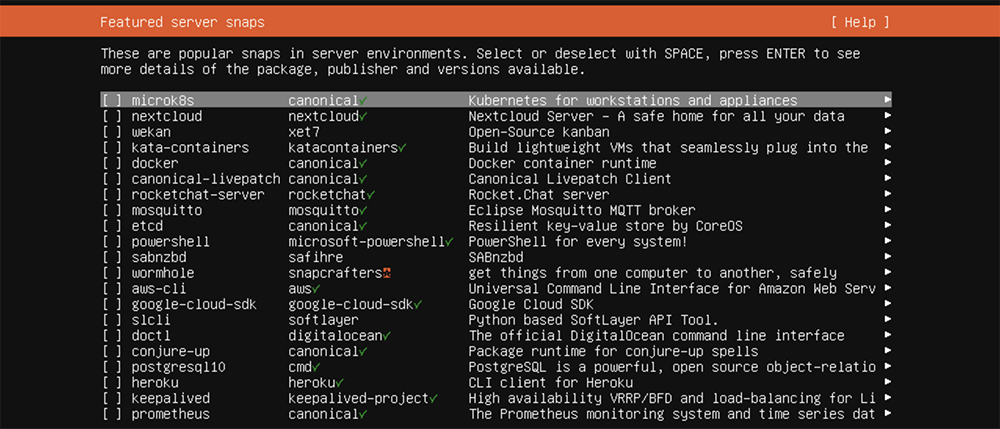
It took my rig about 2 minutes to install. And now the rest of this installation will occur in an SSH session. Once I log in I immediately open port 22 and enable UFW –> great article on WikiPedia to secure my system.

Next command I execute is
sudo apt update && sudo apt upgrade -y && sudo reboot
As you can see, first boot up indicates Ubuntu Pro is not enable and there are 70 updates.

Lastly, setting up Ubuntu Pro requires an account on https://ubuntu.com and you can have 5 linux installations attached to your account for a more robust update process.
Unless I missed something, and if I did please let me know, your linux server is ready for whatever you have in store for it. Good Luck, Lisa,

Leave a Reply